

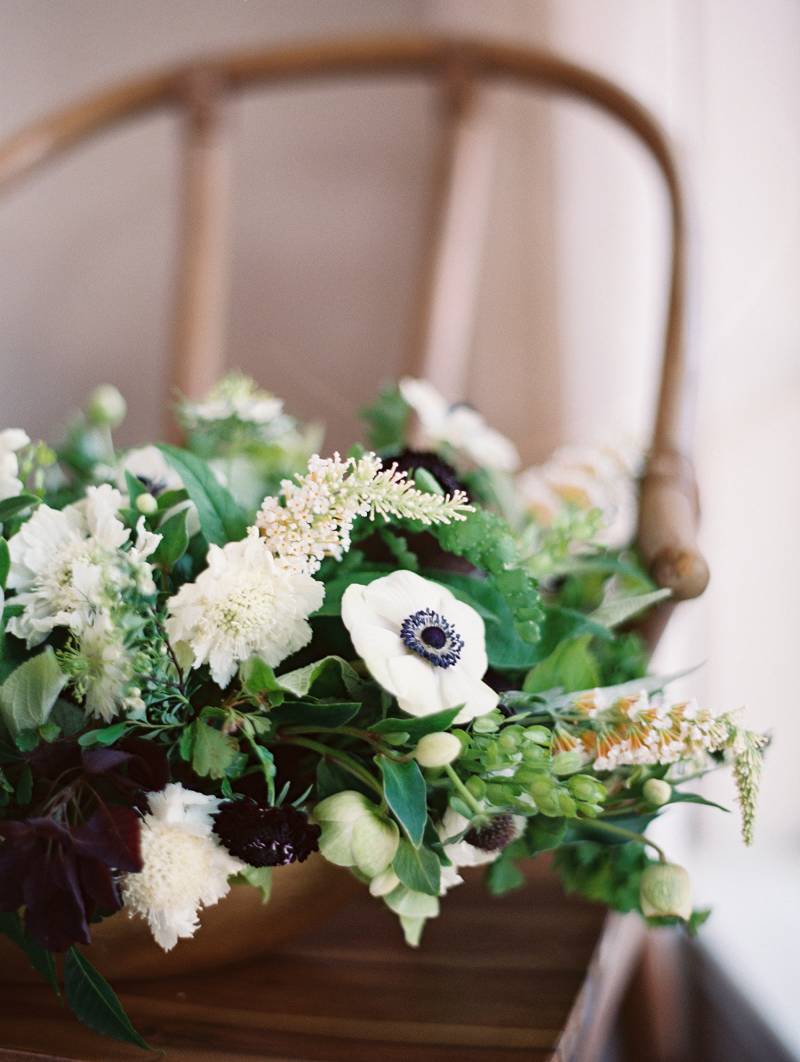
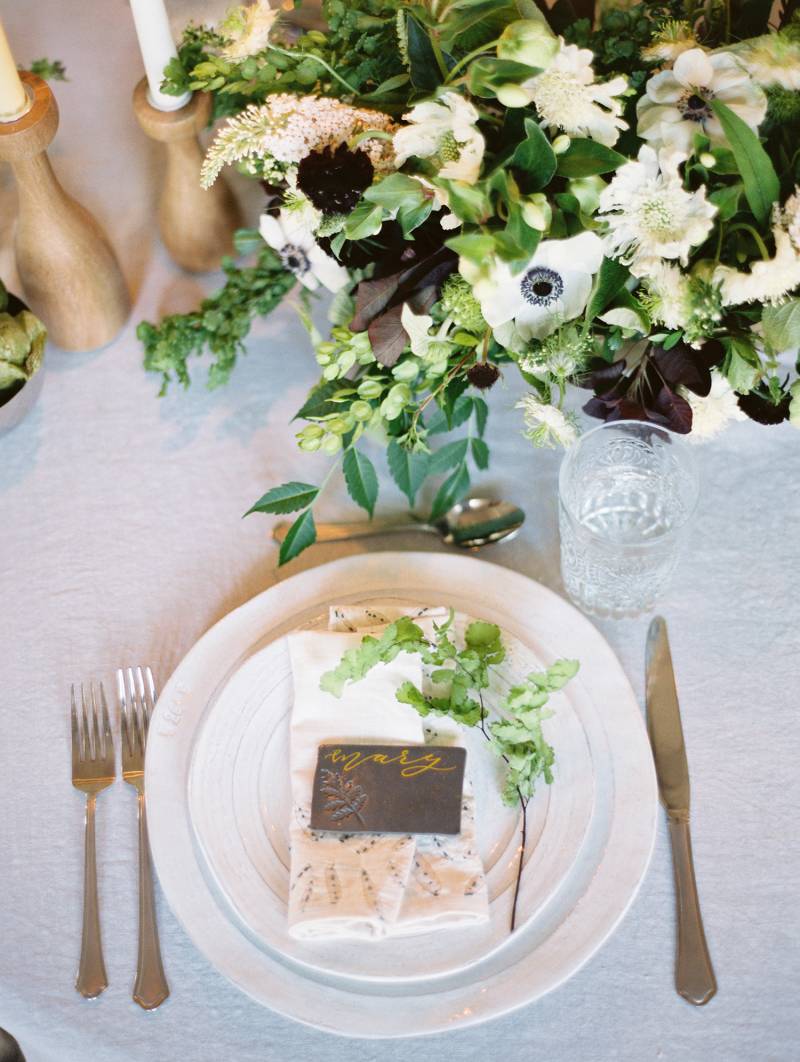
It's not often that we feature DIY projects but when they're as simple as these and the results are as pretty, well we can't resist. Linda from WEDFULLY YOURS created these ideas using clay and gold-leaf and they're are so easy for you to replicate and add something personal to your wedding or even to use at home. Linda says, "We thought clay would be a unique element to add to wedding design and a fun tutorial for anyone to make for themselves at home. As many designers will tell you, adding textures to any wedding design add depth to the overall aesthetic." Thanks to CHARLA STOREY for the pretty photos.
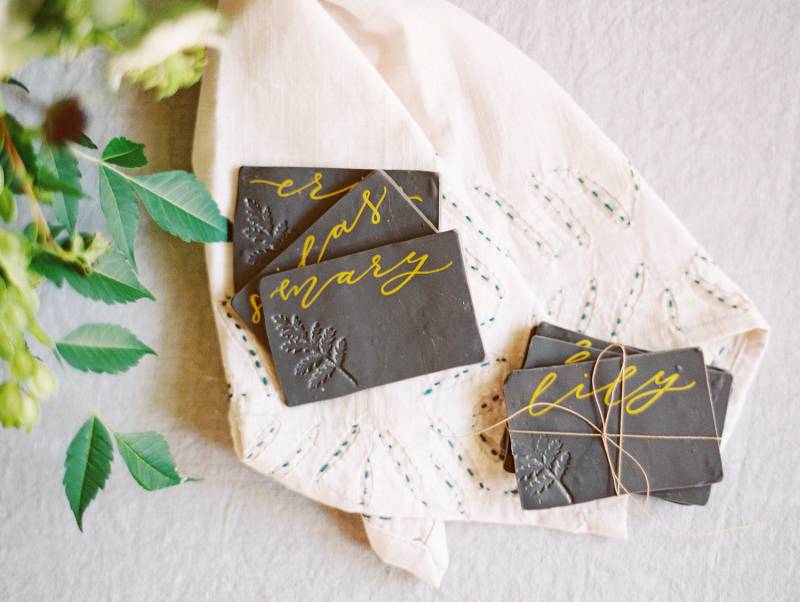
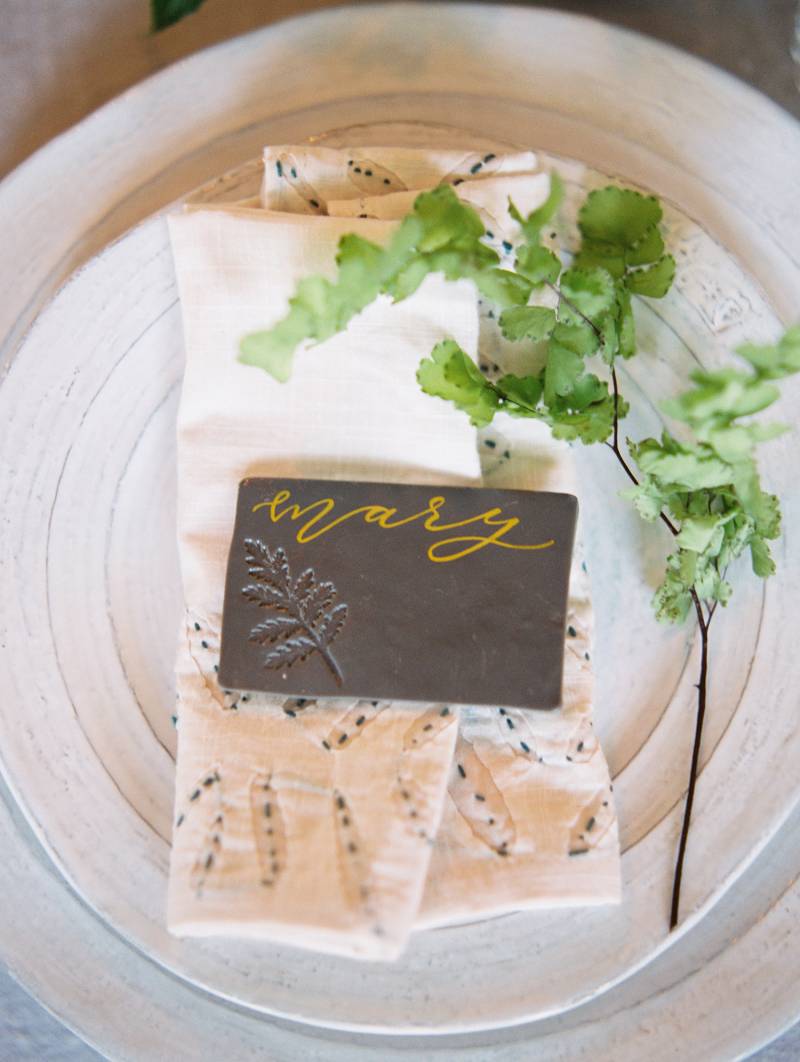
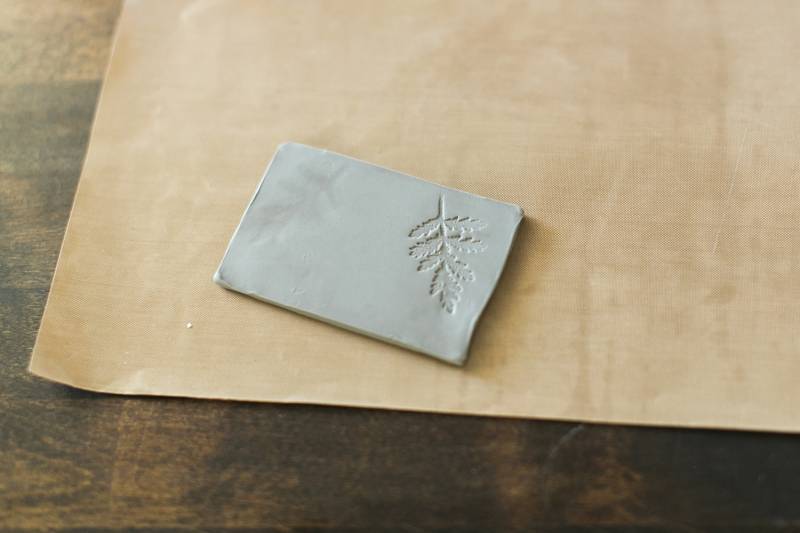
CLAY PLACE CARDS
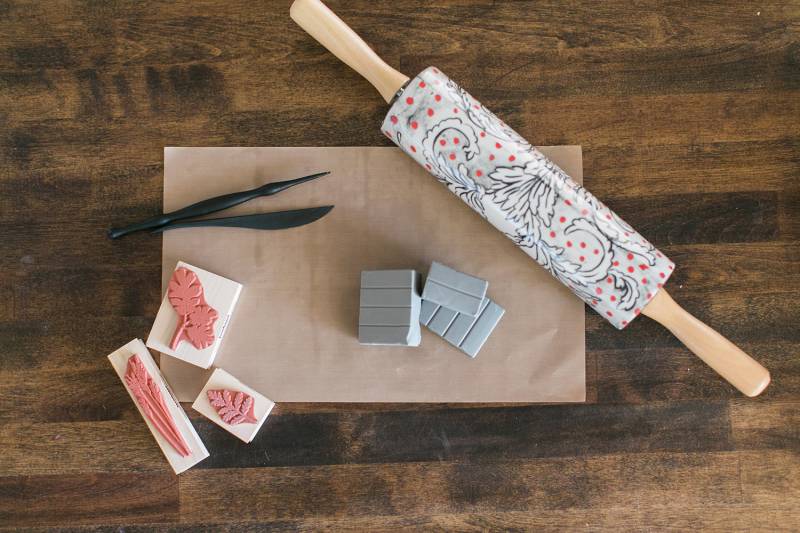
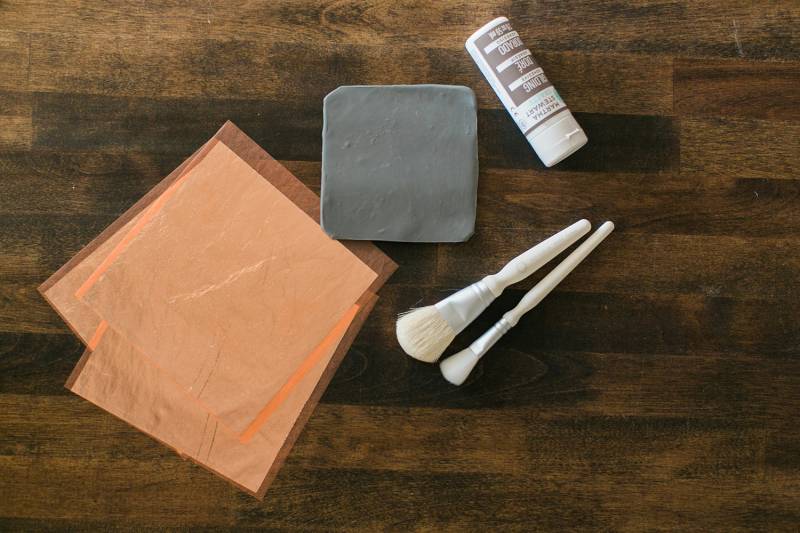
Supplies needed:
– Sculpey III Polymer Clay
– Sculpey Clay Tool Set (Needle End/ flat end circle tool, Blunt Point/ Ball End tool, Knife end/ flat end tool)
– Stamps
– Rolling pin
– Sculpey Work and Bake Mat
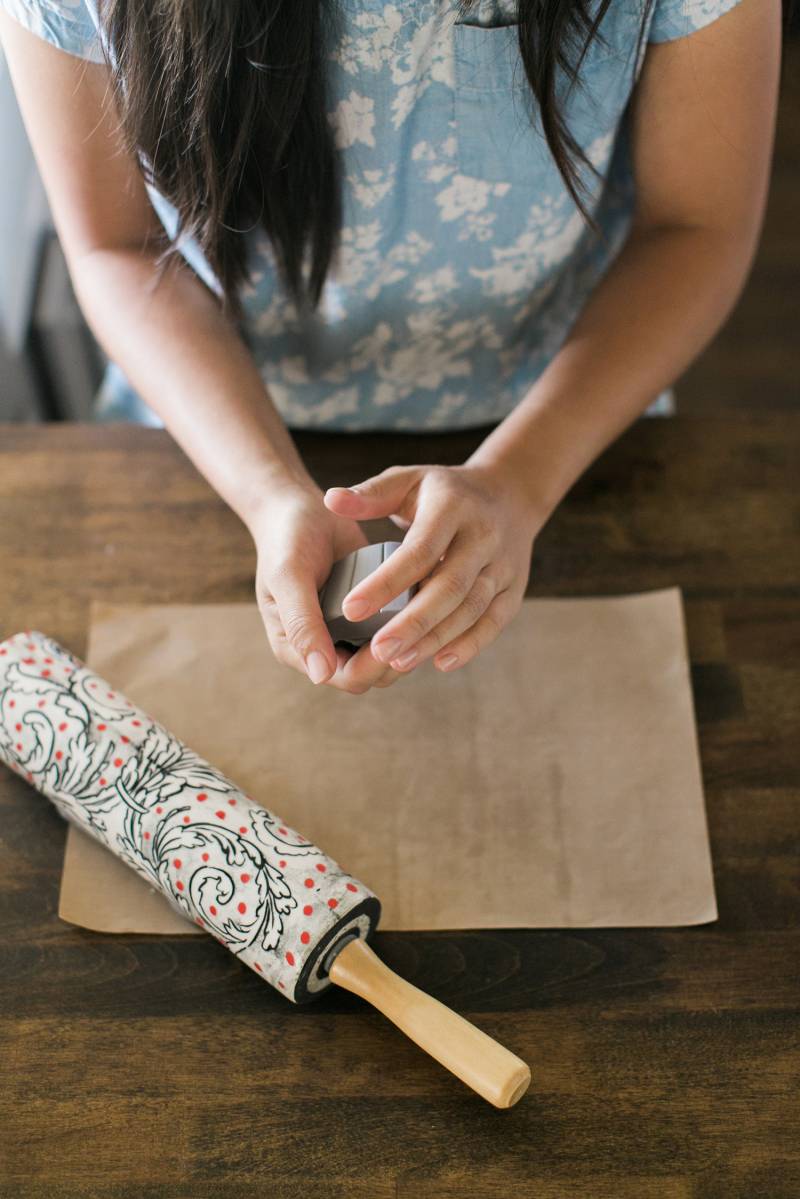
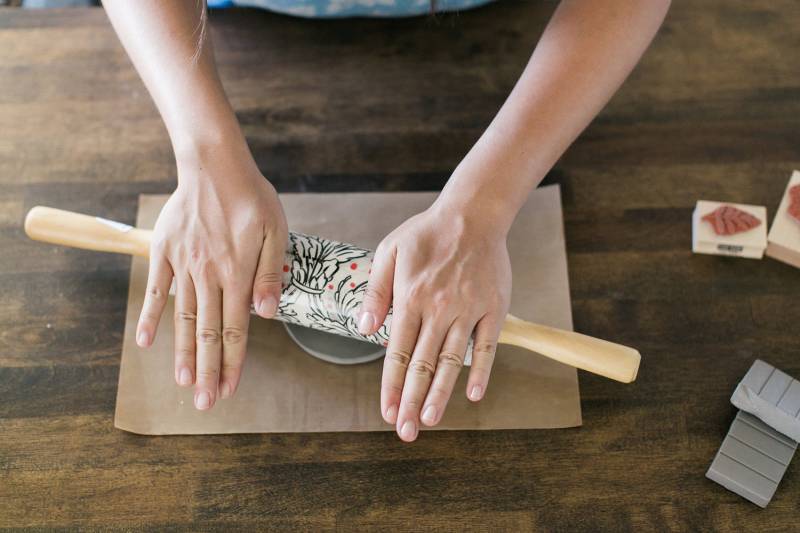
1. Roll out and flatten clay to about 1/8 inch and into size of desired place card .
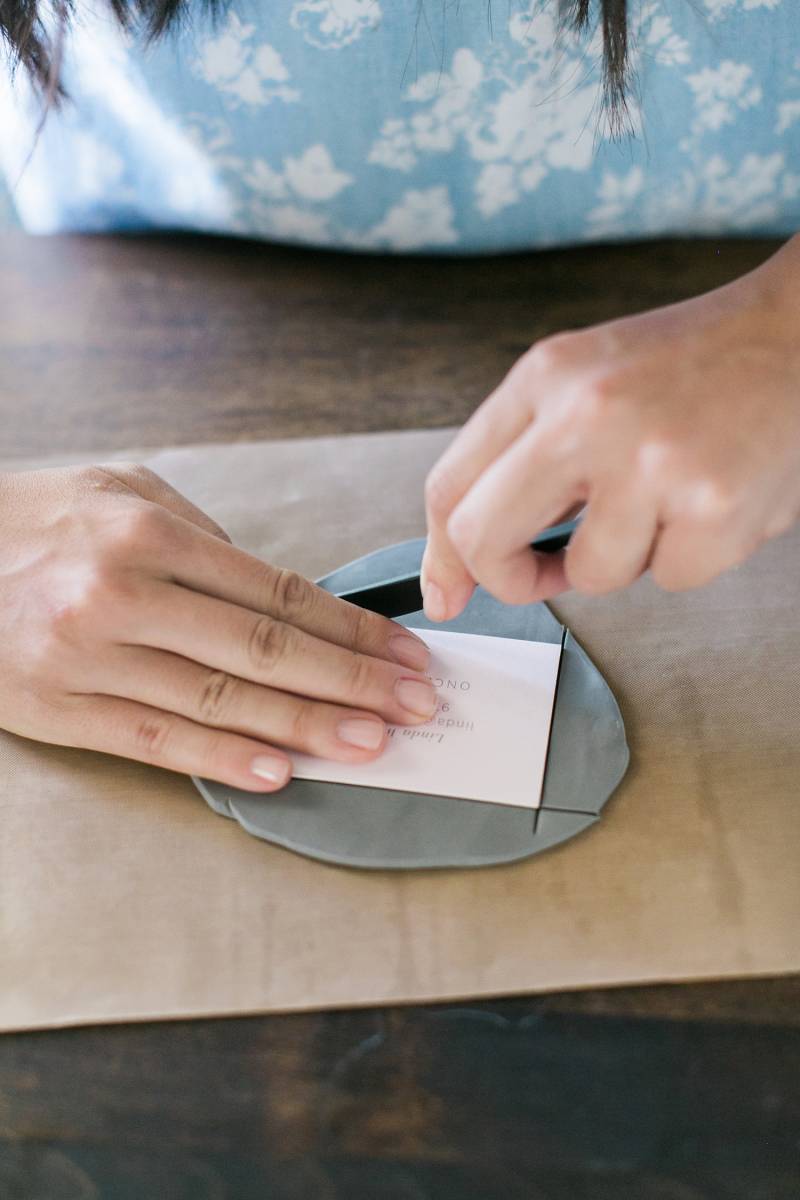
2. Use a template as a guide to cut the place card. We used a business card.
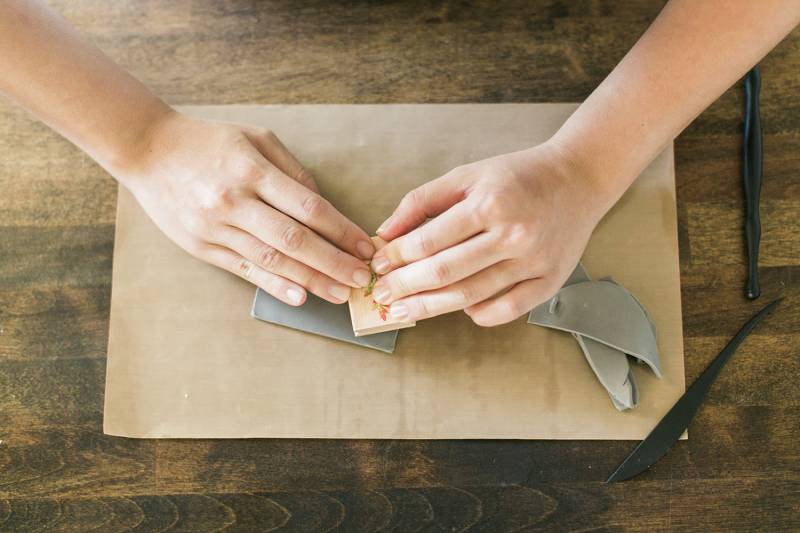
3. Use sculpting tools to smooth out edges.
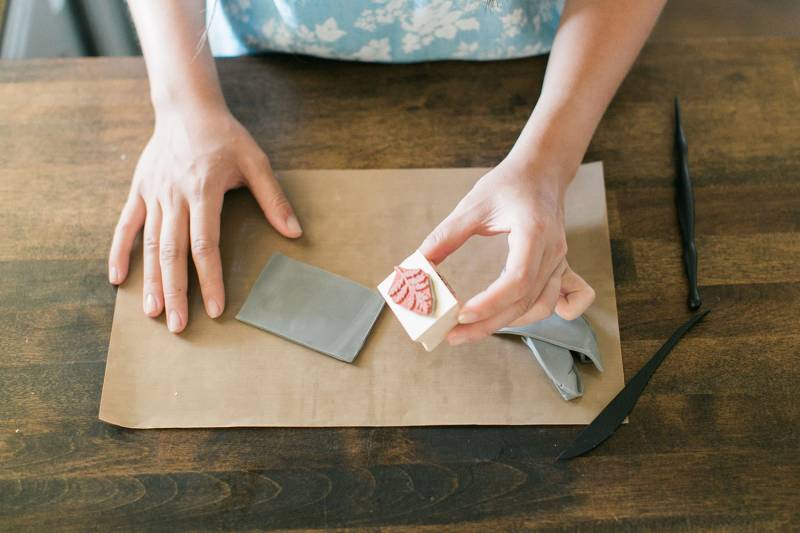
4. Lightly press stamp onto cut shape. Do not press too hard, any pressure will leave an impression.
5. Bake clay according to instructions on clay package.
6. Your place cards are ready to be written on.
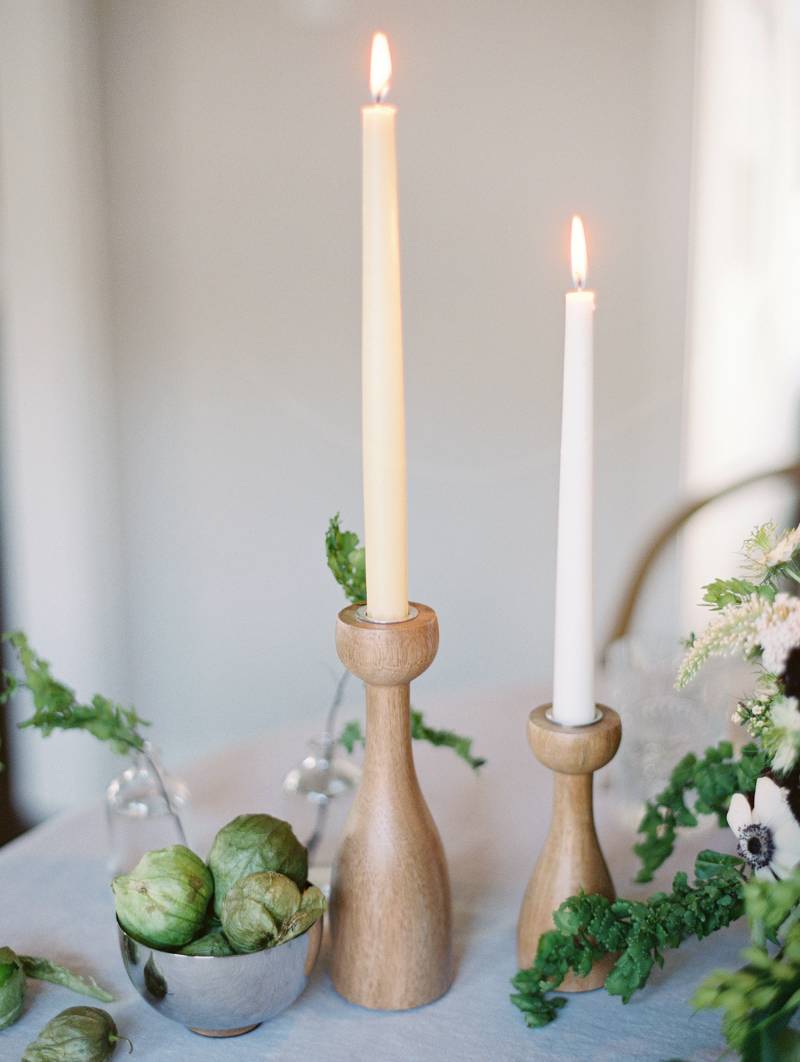
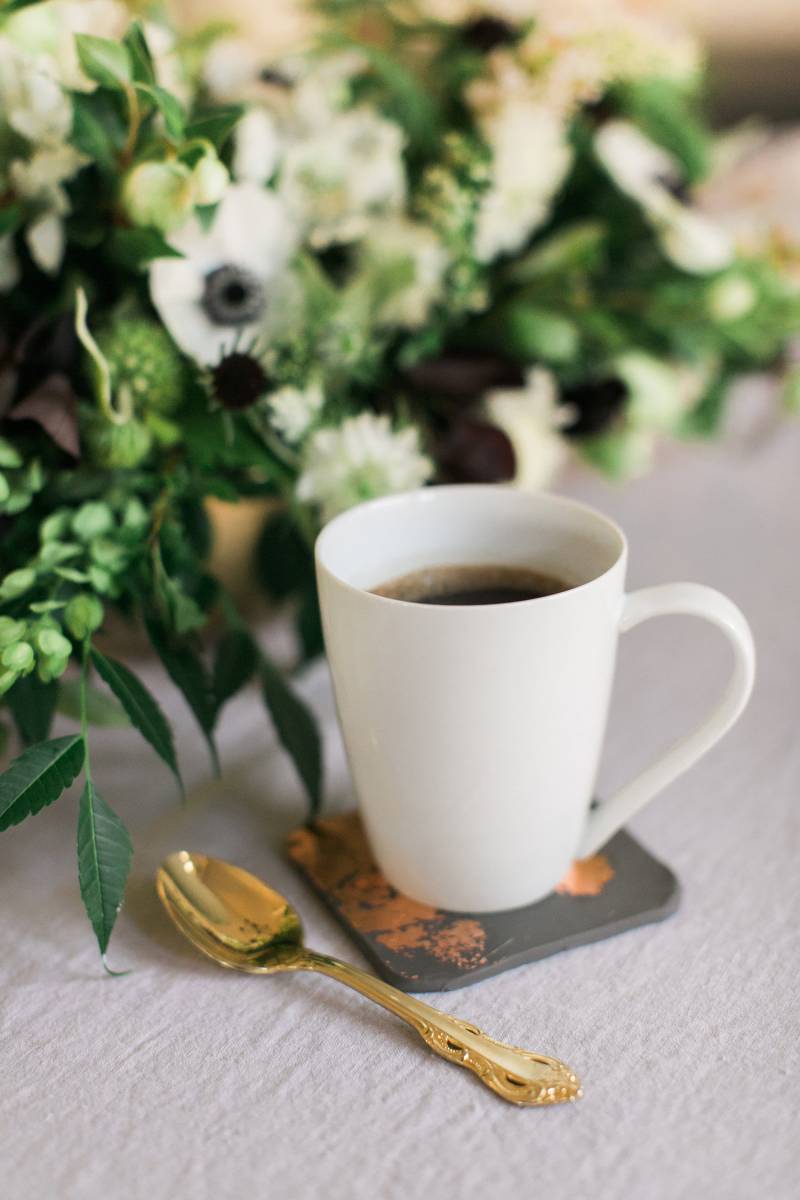
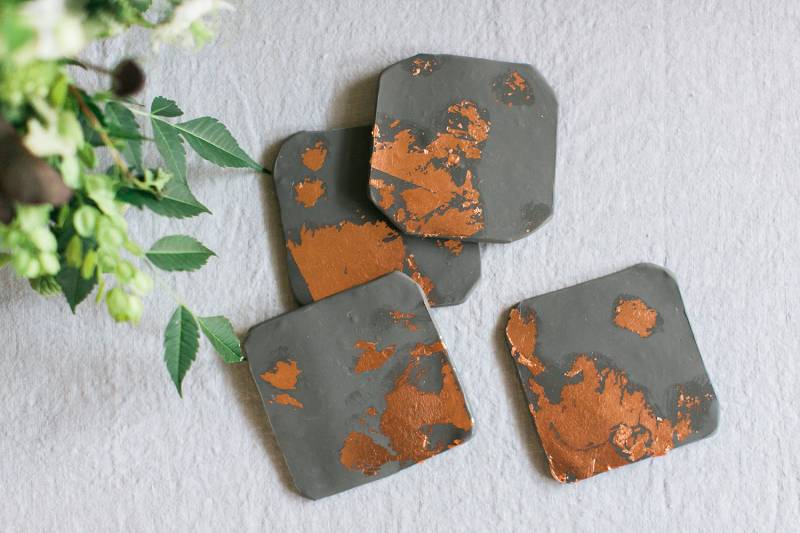
GOLD-LEAF CLAY COASTERS
Supplies Needed:
– Sculpey III Polymer Clay
– Sculpey Clay Tool Set (Needle End/ flat end circle tool, Blunt Point/ Ball End tool, Knife end/ flat end tool)
– Rolling pin
– Sculpey Work and Bake Mat
– Martha Stewart Gilding Sheets
– Martha Stewart Gilding Adhesive
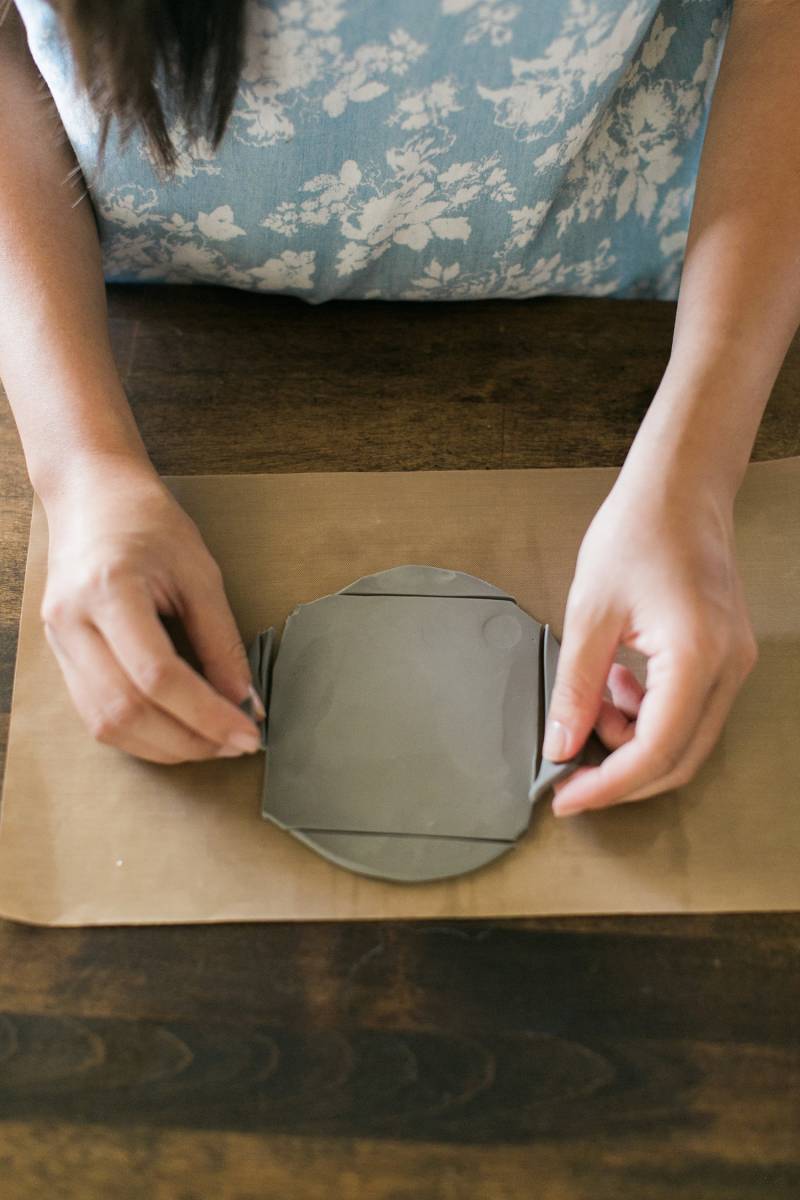
1. Roll out and flatten clay to about 1/4 inch and into size of desired place card .
2. Use a template as a guide to cut the place card. We used a business card.
3. Use sculpting tools to smooth out edges.
4. Lightly press stamp onto cut shape. Do not press too hard, any pressure will leave an impression.
5. Bake clay according to instructions on clay package.
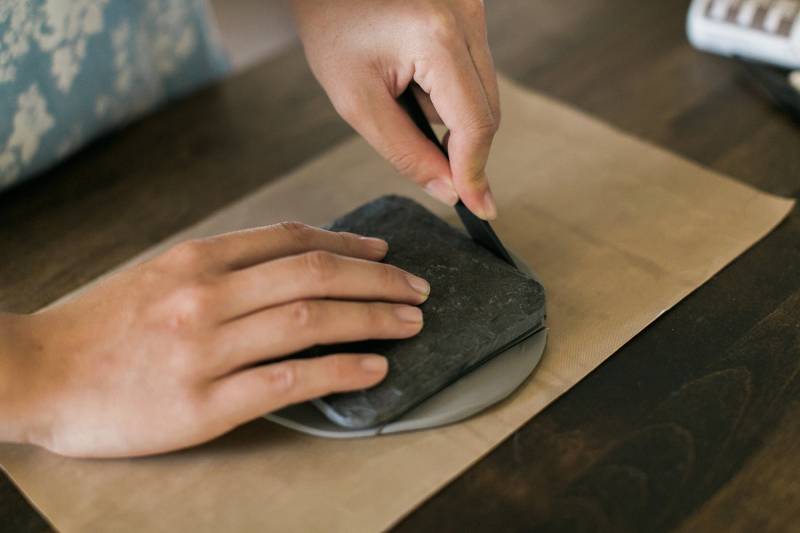
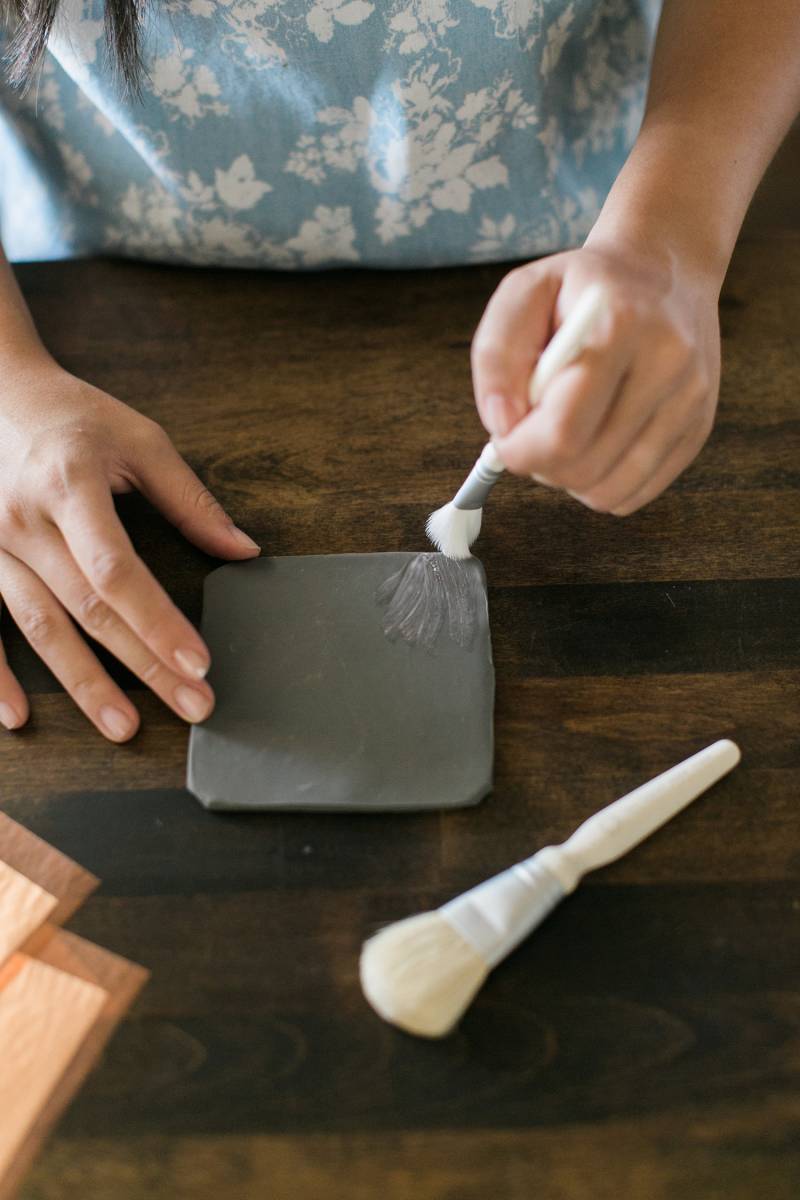
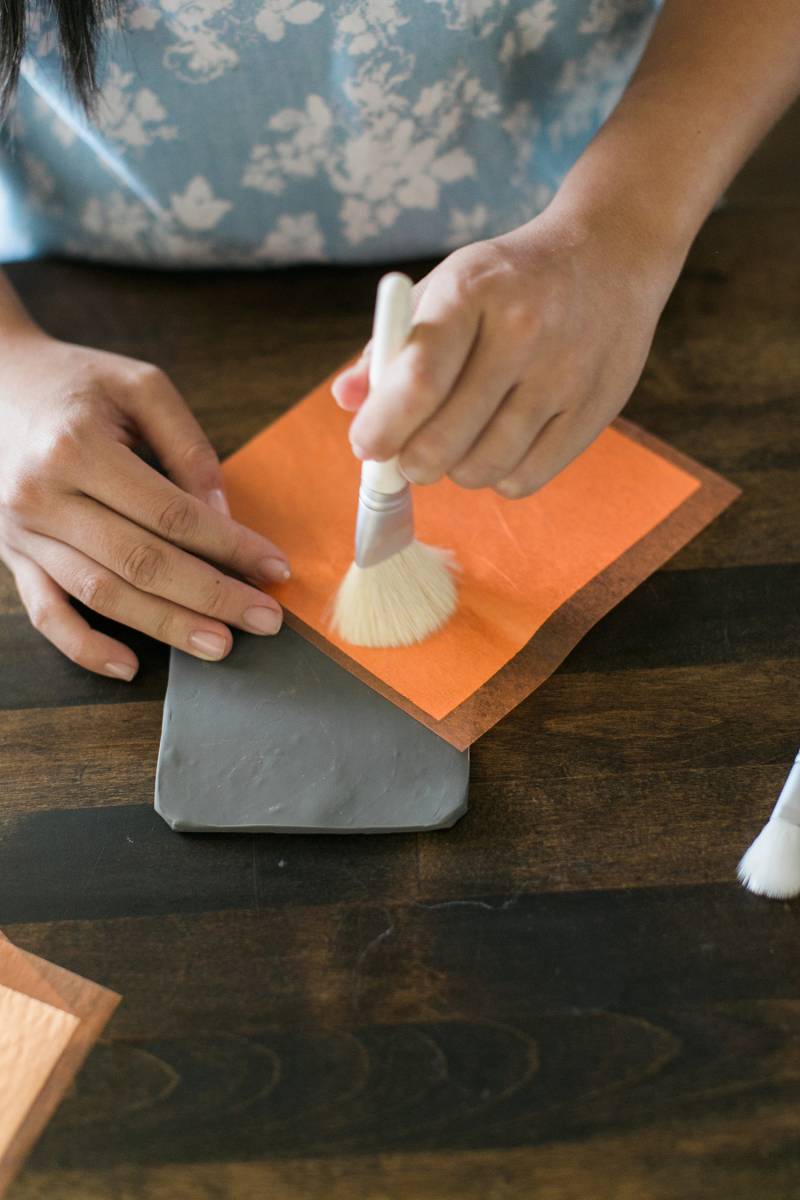
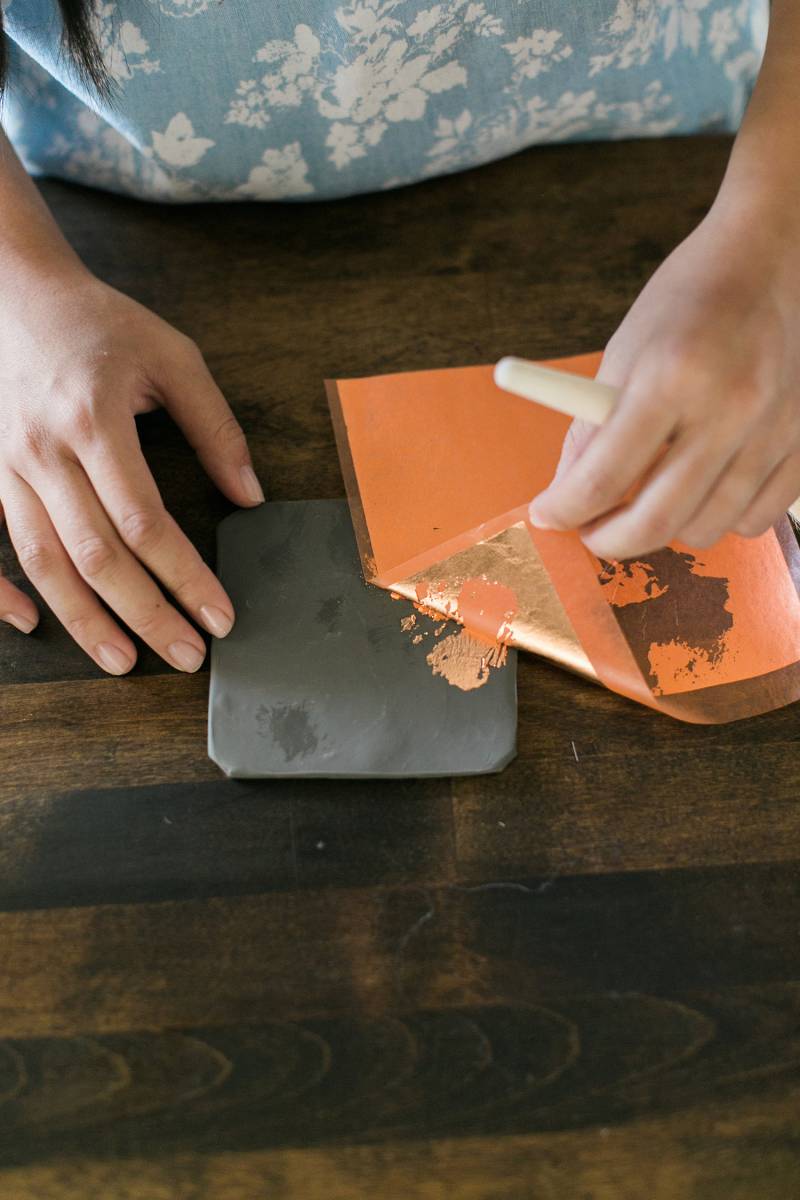
6. Apply gilding adhesive where you want metallic accent.
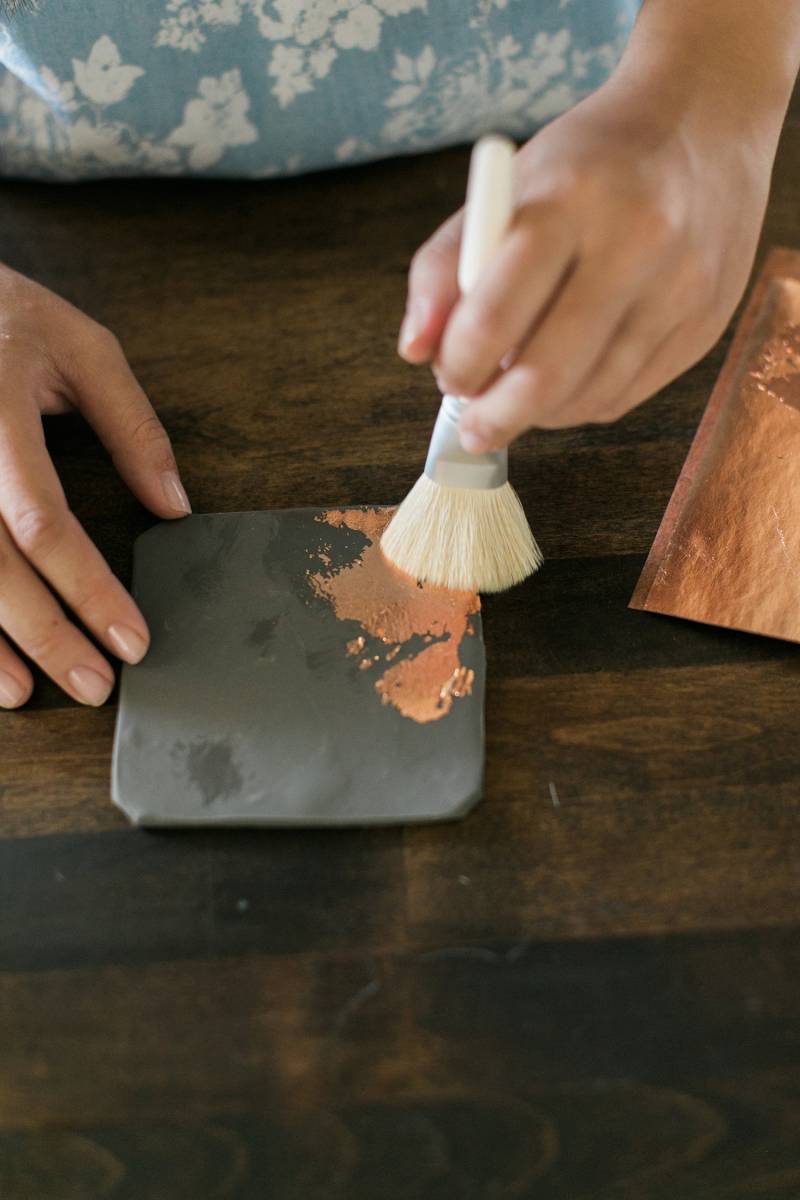
7. Place gilding sheets metallic side down over the adhesive, use a dry brush to "brush" on.
8. Gently peel sheet back to reveal your design and use the dry brush to brush off any excess gild.
RECENT FEATURES
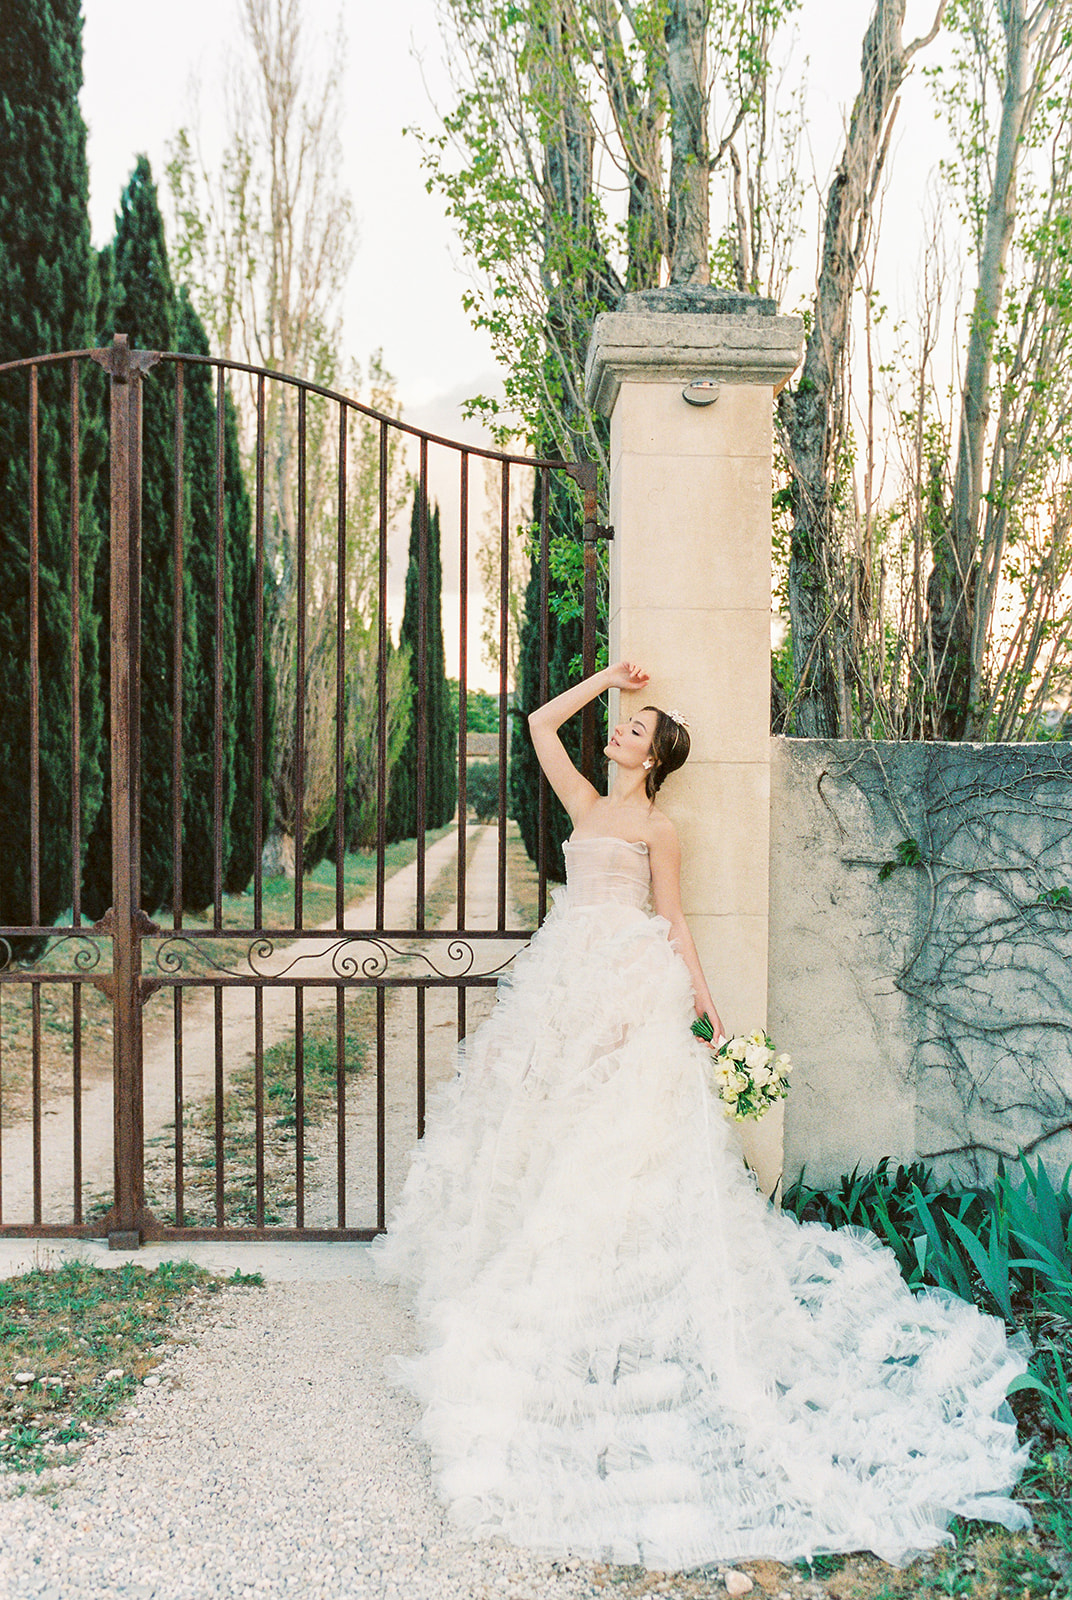
An Elegant Coastal Wedding at The Sanctuary at Kiawah
A Modern Romantic Editorial at Château de Sainte Croix
A Candlelit Celebration Full of moody Autumn Charm
An Authentic Javanese Wedding at Aman Villas in Nusa Dua
Sunset Hues Meet Black Tie Elegance in Portugal
Modern Coastal Romance with Ocean Inspired Details
A Romantic Spring Wedding at Newcastle Golf Club
A Candlelit Wedding Editorial Inspired by New York Dining
Floral Artistry And Timeless Style At Swan House
The
Shop
Browse our curated selection of favourite products